Professional-Sounding Vocals
Step One: Your Recording Space Matters More Than You Think
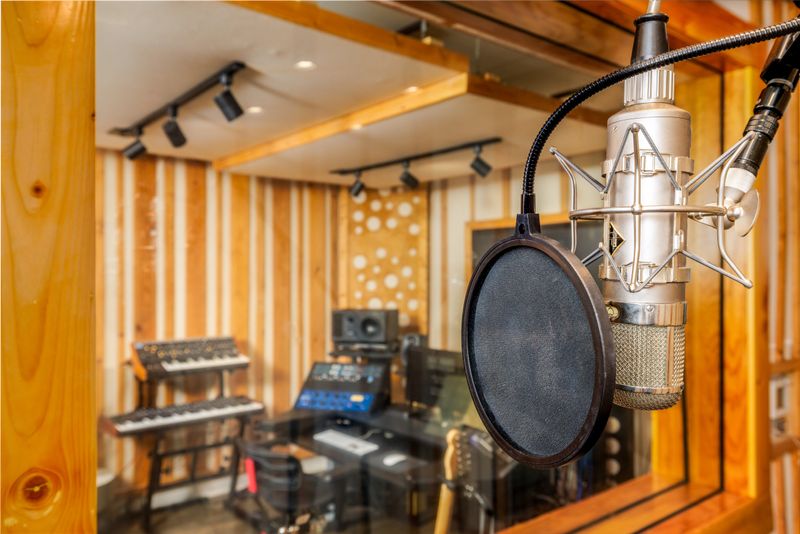
I know you’ve heard this a lot, but the first step to achieving professional, pop-radio-ready vocals lies in the foundation — the recording environment.
You might say, “Well, there are so many AI-powered de-verb plugins and websites these days. I can just record in my bedroom and clean it up later.” But trust me, that's not a good idea. What happens under the hood of those plugins and algorithms often strips your vocals of their character and edge. They can end up sounding dull and plasticky, so to speak.
Step Two: Choosing the Right Microphone
It’s Not Just About the Gear — It’s About the Match
Some studios take the time to match the right microphone to your voice — and honestly, that’s not BS. You might think, “I can just change everything later with EQ and compression, so why does it matter what mic I use?”
Does it matter? Yes. Why? Let me explain in the following section.
My Mixing Ideology: Change As Little As Possible
Why Less Is More
My whole approach to mixing is built on one easy principle: change as little as possible.
I see sound like water — you can’t shape water in the palm of your hand without spilling some.
Every plugin you use has an error threshold. If you push them too hard, they glitch. One of the most common glitches is aliasing distortion! You might already know about it — but I’ll dive deeper into that in a future blog.
Now, let’s talk about the mixing stage.
The Mixing Stage: Clean Starts Make Clean Mixes
You Shouldn’t Need Much Processing
If you did everything right from the start, you won’t need a ton of processing during mixing. Your go-to tools should be EQs, compression, and saturation — all used for the purpose of controlling the sound.
Is it need tonal control or dynamic control?
"What aspect of control do I need on this signal?"
Step One: Tonal Control, Shaping the Nature of the Voice
Tonal control is all about the nature of the voice.
With every note and syllable, certain frequencies will naturally be louder than others. Sometimes, certain sibilants whistle and grab your attention. Or maybe the singer sounds thin in higher registers and boomy in the lower ones.
These issues can be solved using multiband compression or dynamic EQs.
Step Two: Add Flavor with Saturation
After the first stage of control, you need to “cook” the sound using saturation.
A great plugin for vocals is Alkane.
Alkane: My Go-To Vocal Saturation Plugin
When it comes to vocals, Alkane works like a charm. It injects a low-mid grit that gives the voice body and presence, along with a high-end sparkle that helps it sit right on top of the mix.
In a recent project (on Robobun’s track “Insane”), I used Alkane to make the lead vocals shimmer without ever sounding harsh. That word — sparkle — isn’t a coincidence. Alkane’s Tone controls bring out the air and detail in the upper frequencies, letting vocal lines shine through layers of guitars and synths.
Alkane doesn’t just enhance vocals. It enhances expression. Voices cut through clearly, with character — not that annoying digital fizz.
Step Three: Final Shaping with EQ
After saturation, I start shaping the vocal tone using EQ. By now, the vocals are usually tamed but still sound flat.
Use EQ (digital or analog), but make sure it doesn’t cause aliasing distortion.
Use Spark saturation — just a little though, since it can be heavy-handed.
Step Four: Dynamics Control
Two Levels of Dynamics Processing
The last step is handling dynamics — and we only need two levels:
De-essing
General compression
Full Dynamics Control: The Final Quest
But here’s something to spark your thinking…
Before touching a compressor, start with level control. Don’t let all those uneven words hit the compressor at the same level.
Compression is a deep and heavy topic — I’ll explore it more in another blog. But for now, just know this:


